How to Take Great Photos of a Violin
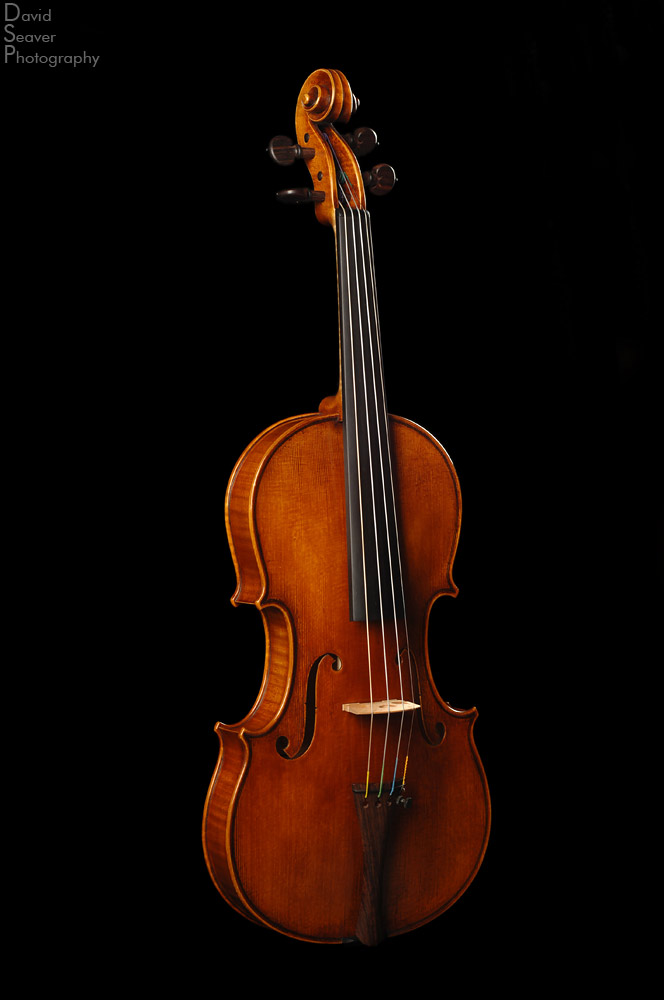
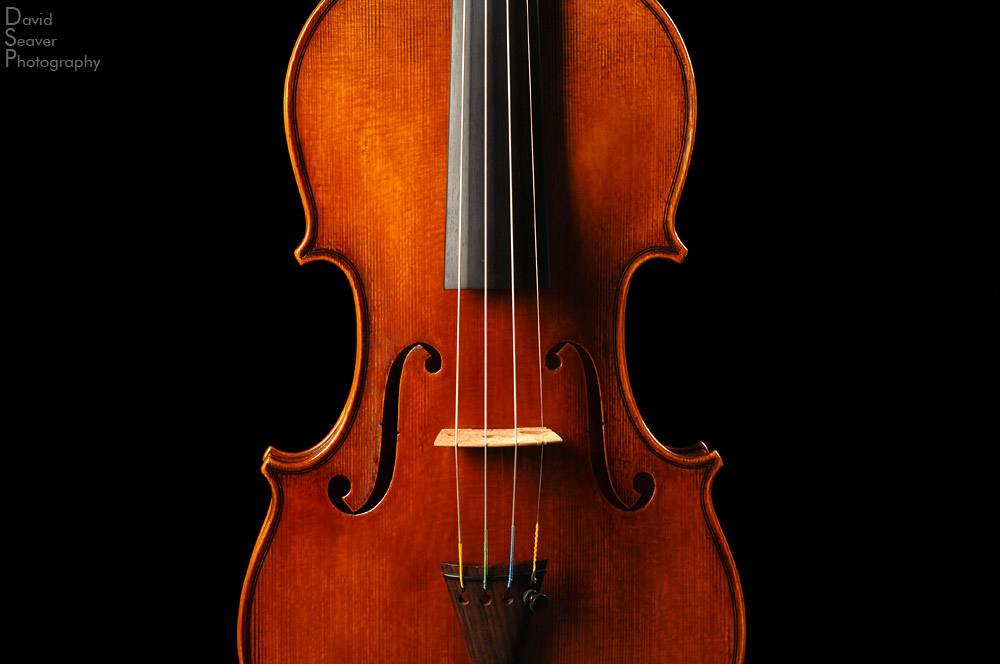
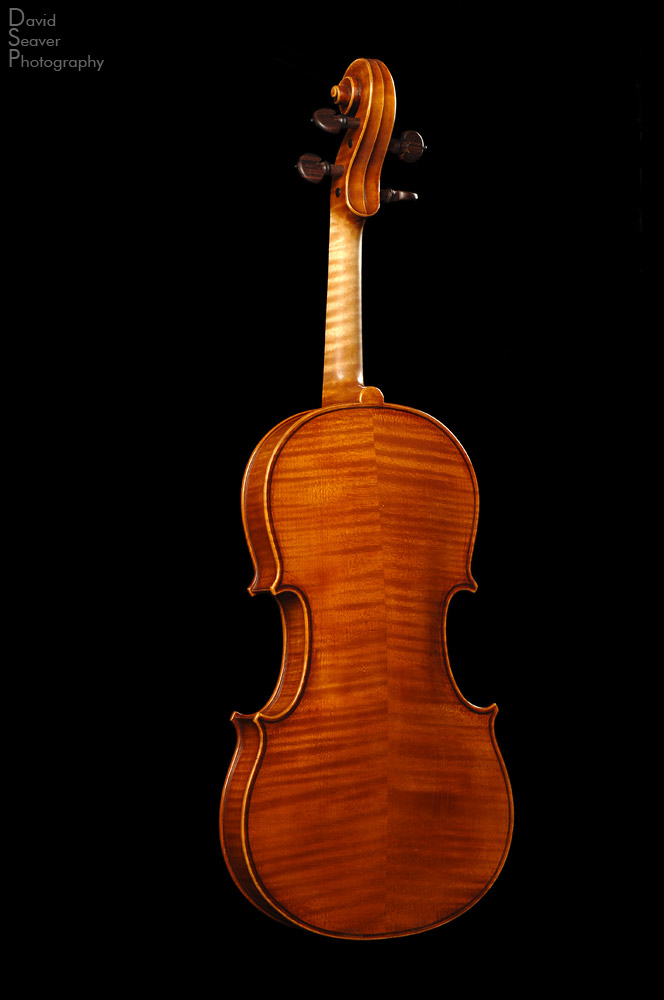
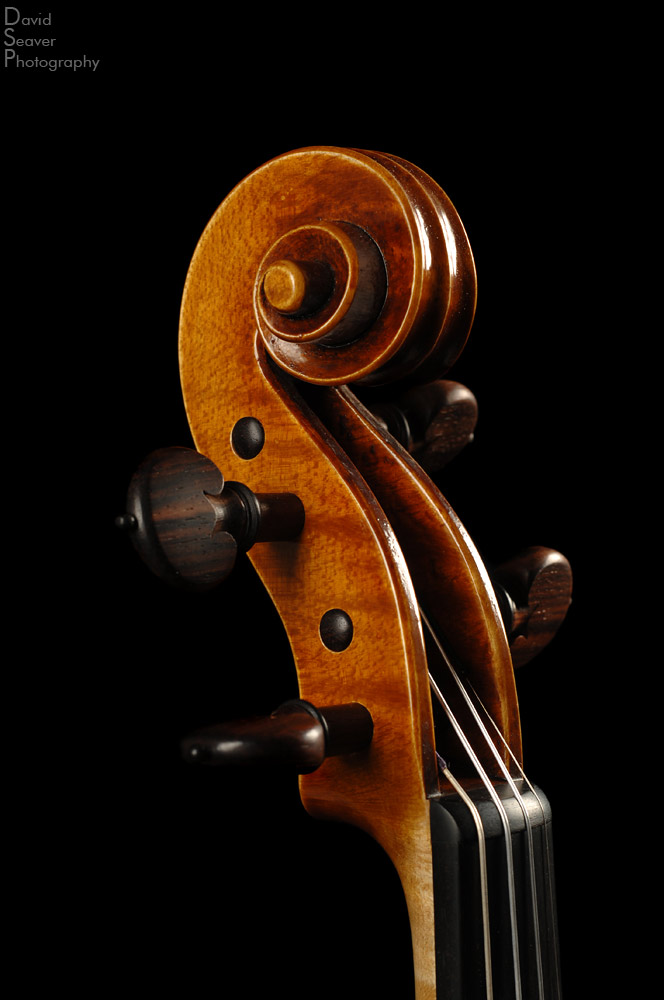
I recently had the opportunity to photograph some of luthier Jonathan Vacanti’s hand made violins. They are beautiful works of art. It’s great to see that true craft is still happening out there. Vacanti works at Vermont Violins, Burlington’s violin shop on Church St.
Product photography is much trickier than it seems. Photographing products means that you need to get perfect shots of the item. No glare, straight and sharp, great lighting, even background.
To shoot this hand made violin, I knew that the final product would be a violin floating on a black background. In the studio, I set up a black muslin background and blocked out the light from the window to make sure I was working in a darker environment. It can be difficult to get a true black right in the camera while keeping the rest of the image properly exposed. My goal was to get the background as black as possible before heading into post production in Photoshop.
To get the violin to ‘stand up’ with the least amount of movement, interference with the lighting, and least amount of post time, we hung the violin on fishing line between two light stands. Thankfully the violins are extremely light and didn’t need much support, but we made sure that there was something close by underneath, just in case it decided to jump off the line.
As far as lighting, I chose to use two soft boxes on SP-Excalibur studio flashes, triggered by a wireless transmitter. I wanted to keep the lighting fairly even, adding just a bit of depth and a little highlight on the edges.
The lights are set up at a 45 degree angle camera left, and about a 120 degree angle camera right. This made my key light the one on the left, and I used to the right one for extra fill and to highlight the edge. I did have to slightly adjust the lighting to keep the glare on these shiny instruments to a minimum.
I used two black flags (actually foam core covered with black paper) to keep the light from spilling backwards from the left light and towards the camera from the right light.
These were all shot with a Nikon D2x, 50mm 1.8, around f7.1 at ISO100. I love how creamy and smooth the Nikon D2x’s files are. Having a starting point of such a low ISO, there just aren’t any chunky pixels to deal with, just smooth transitions from light to dark.
After shooting, I went into Photoshop and removed the fishing line and made sure the background was actually black and not just dark.
Available lighting
In this post I’m going to talk a little about lighting and how it relates to taking great photos.
Lighting one of the big three that makes a photo great; lighting, composition, and subject matter. I’ll discuss each of these in other posts.
Photos need light. It’s what makes them a photo. In the old days it was a chemical process, now it’s a digital one, turning light into a photograph. Within lighting there are basically three options, natual/available, flash/controlled, and a combination of the two. We’ll start with the original light source, our sun. It’s big and bright and comes in an unending variety of colors and intensities depending on what’s diffusing or reflecting it. While direct sunlight has it’s place, and the golden hours around sunrise and sunset are a magical time, it can create blinding hot spots and black holes in your photos if you’re not careful. Cameras are not equipped to deal with the capturing the range from hot highlight to deep shadow. They’re much happier with either one of the other, which means moving your subject into some shade, or evening out the light a little bit. Yes, there’s the new craze of high dynamic range (HDR), but I’m a purist and think people take it too far and it ends up looking like a velvet painting. Used properly, there is a place for HDR, basically replacing filters of yester-year. However to get great photos, it’s easier to take a few seconds and think about what the lighting is, and how you want to use it, then to spend countless hours in Photoshop massaging a bad photo into a mediocre one. Let’s take a look at a few photos that give examples of different types of natural light.

Nikon F100, 50mm f5.6, Fuji Velvia Film
This boy was photographed just before a hazy sunset outside of Siem Reap, Cambodia. You can tell that the light is very low on the horizon and therefore very directional, leaving part of his body in shade. I had him turn slightly towards the sun so his face wouldn’t totally be in shadow and to give a little definition to his body and to pick up that golden light.

Nikon D2X, Nikon 50mm, f2.0
This photo of Amy Redford, film maker and daughter of Robert Redford, was shot under the eave of a porch to block out the harsh late afternoon sun. Although I did make some images of her in the direct sun, this setup worked best, with the soft light filtering in.
As a photographer, I’m always scanning my surroundings for proper lighting and background options. When shooting, I’m always aware of the direction and intensity of the available light as it determines what to do next. You can see in both of these shots that I have the subjects turned slightly from the light source to give more depth and definition to their faces.

Nikon D2X, Nikon 50mm, f1.8
This portrait was made in full shadow outside of my studio. After working with studio lights, I wanted to get some totally different lighting options, so we headed outside. With the soft even light when I’m out of the full sun, I like to shoot pretty wide open, softening the light even more.
When you’re shooting in available light, you really have to work with what you’ve got. You need to think outside the box and try create interesting vignettes. There’s always a little corner here or there with acceptable light. Work the light coming through a window or door, or if it’s bouncing off a white wall, even better.
To see more of my work or to contact me about a project or assignment, please visit my website, www.photovt.com.

